EXODUS® Web3 Wallet | Getting Started With Exódus®
The Exodus Web3 Wallet is a powerful, non-custodial, multichain browser extension that serves as your gateway to the decentralized web. Designed for users who want to manage altcoins, connect to dApps, explore DeFi, and handle NFTs securely, it turns your Chrome or Brave browser into a full Web3 powerhouse. With support for major networks like Ethereum, Solana, Polygon, Arbitrum, Avalanche, BNB Smart Chain, and more, the Exodus Web3 Wallet lets you swap assets at competitive rates, stake for rewards, buy/sell crypto, and interact with decentralized applications—all in one sleek interface.
Whether you're new to crypto or an experienced DeFi user, setting up the Exodus Web3 Wallet is straightforward. This guide covers the Exodus Web3 Wallet setup, how to create a wallet, secure your recovery phrase, install the browser extension, use the mobile companion app, and import existing wallets.
Here are some visuals of the Exodus Web3 Wallet interface and key setup screens to help you visualize the process:


How to Set Up the Exodus Web3 Wallet Browser Extension
- Install the Extension
Head to the official Exodus website or the Chrome Web Store to download the Exodus Web3 Wallet browser extension. It's compatible with Google Chrome and Brave browsers. Click "Add to Chrome" (or Brave), then confirm the installation. Once added, you'll see the Exodus icon in your extensions menu.Here’s a glimpse of the extension in action:
bytwork.comExodus Browser Extension Guide: Security, Usage, and Features
- Create a New Exodus Web3 Wallet
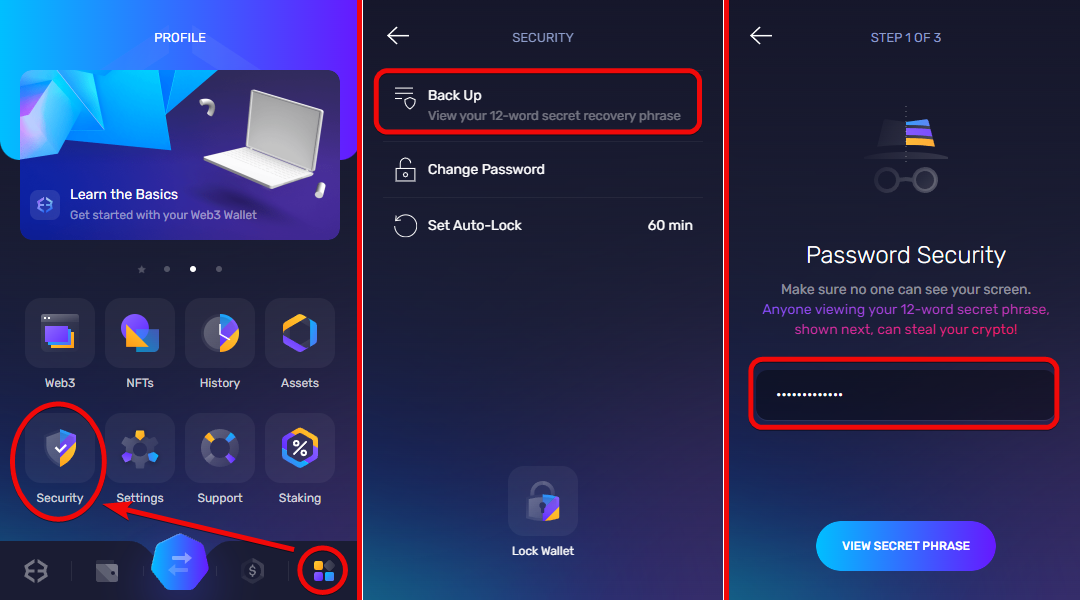
Open the extension and select "Create New Wallet". Follow the prompts: set a strong password (the strength indicator turns green when it's secure), re-enter it, and agree to the Terms & Privacy Policy. The wallet will generate a unique Exodus Web3 Wallet recovery phrase—a 12-word secret key.Write this phrase down offline (never screenshot or store digitally). This phrase is your master key to access funds if you lose access. Store it safely—anyone with it can control your assets.Here’s what the recovery phrase backup screen looks like:
support.exodus.comEverything you need to know about your 12-word secret key | Exodus ...
- Import Wallet to Exodus Web3 Wallet
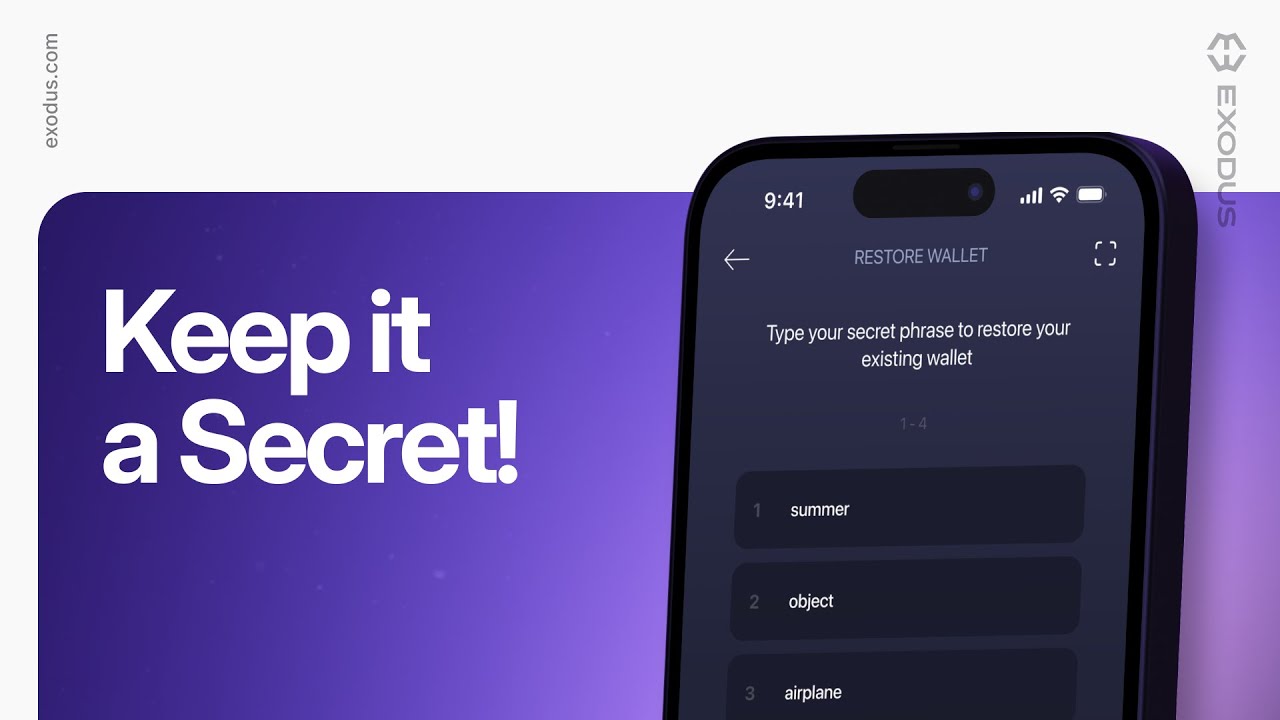
If you have an existing wallet (from Exodus, MetaMask, Phantom, etc.), choose "I Have a Wallet" and enter your 12-word recovery phrase word by word. Set a new password, agree to the terms, and restore. Only assets on supported networks will appear—unsupported ones can be viewed in the Exodus mobile or desktop app.This makes import wallet to Exodus Web3 Wallet seamless for migrating portfolios. - Pin and Access the Extension
Click the puzzle icon (Extensions) in your browser, find Exodus, and pin it to the toolbar for quick access. Now you can connect to dApps directly.
How to Use Exodus Web3 Wallet
Once set up, the Exodus Web3 Wallet excels as a DeFi wallet and altcoin manager. Connect to dApps by visiting sites like Uniswap, OpenSea, or Solana-based platforms—the extension prompts you to approve connections. Swap tokens across chains with low fees via built-in Exodus Swap, view and manage NFTs, stake assets for rewards, and track your portfolio in real time.
For broader access, pair it with the Exodus Web3 Wallet mobile app (available on iOS and Android). While the Web3 features are browser-centric, the mobile app supports the full Exodus ecosystem, letting you manage assets on additional networks and sync your experience.
Security Tip: Always create a fresh wallet for heavy dApp use to minimize risks. Back up your Exodus Web3 Wallet recovery phrase securely and never share it.
Here’s a setup overview image for reference:

youtube.comHow to Create an Exodus Wallet
FAQs
- What is the Exodus Web3 Wallet? It's a multichain, non-custodial browser extension that lets you connect to dApps, manage altcoins, swap tokens, and access DeFi/NFTs securely on Chrome or Brave.
- How do I create an Exodus Web3 Wallet? Install the extension, select "Create New Wallet," set a strong password, and back up your 12-word recovery phrase offline.
- What should I do with my Exodus Web3 Wallet recovery phrase? Write it down offline and store it safely. It's your only way to recover funds—never share it or store it digitally.
- How do I install the Exodus Web3 Wallet browser extension? Download it from the official site or Chrome Web Store, add it to Chrome/Brave, and pin it to your toolbar for easy access.
- Can I use the Exodus Web3 Wallet on mobile? The Web3 features are in the browser extension, but the Exodus mobile app complements it for full asset management and additional networks.
- How do I import an existing wallet to Exodus Web3 Wallet? Choose "I Have a Wallet," enter your 12-word phrase from another compatible wallet, set a password, and restore.
Conclusion
The Exodus Web3 Wallet combines simplicity, security, and multichain power, making it ideal for anyone looking to dive into Web3. Whether you're managing altcoins, connecting to dApps, or using it as your go-to DeFi wallet, the setup is quick and user-friendly. Always prioritize safe storage of your recovery phrase and download only from official sources.